Blog
Halloween Cutting Practice Worksheets for Preschoolers

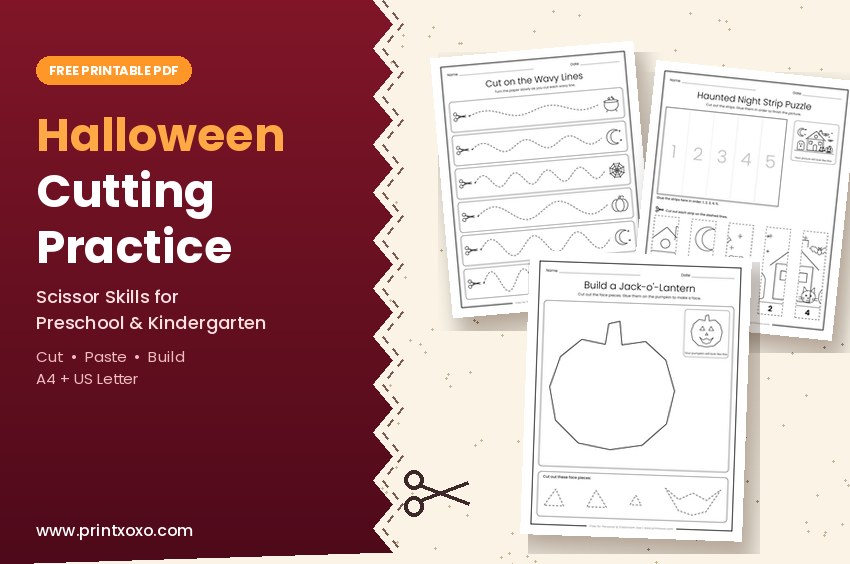
These Halloween cutting practice worksheets give little hands a reason to pick up the scissors: cut a path to the haunted house, build a jack-o’-lantern face, or snip apart a picture puzzle and put it back together. There are 7 free printable pages for preschool and kindergarten (about ages 3 to 6), each as a PDF in US Letter (8.5 x 11 in) and A4.
Scissors are hard at first. Kids have to open and close their hand, hold the paper with the other hand, and keep both on track at the same time. So the set starts with plain straight lines, adds zigzags and waves, and only then moves on to cutting around shapes. The last three pages are cut-and-glue projects. Each project page has a small picture of the finished result, so kids know what they’re making.
Download the Halloween Cutting Practice Worksheets
Press Download or Print under a worksheet and choose your paper size. US Letter is for the US and Canada. A4 is for most other countries.
From First Snips to Cut-and-Glue Projects
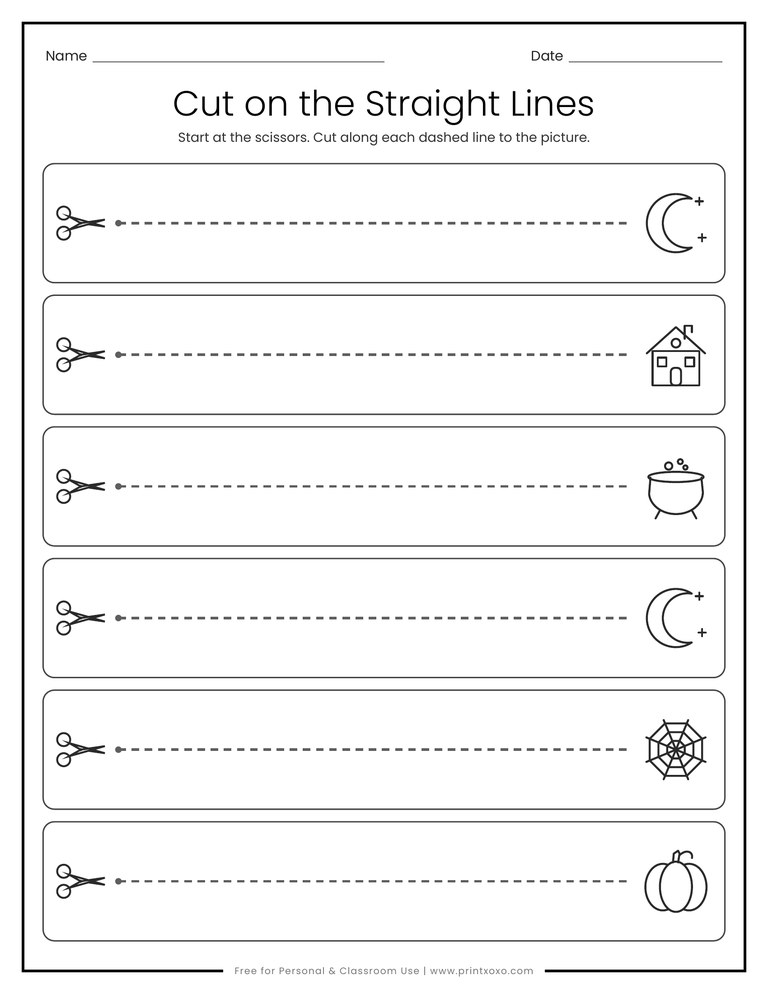
- Straight Lines: six short paths from a pair of scissors to a Halloween picture. A good first try.
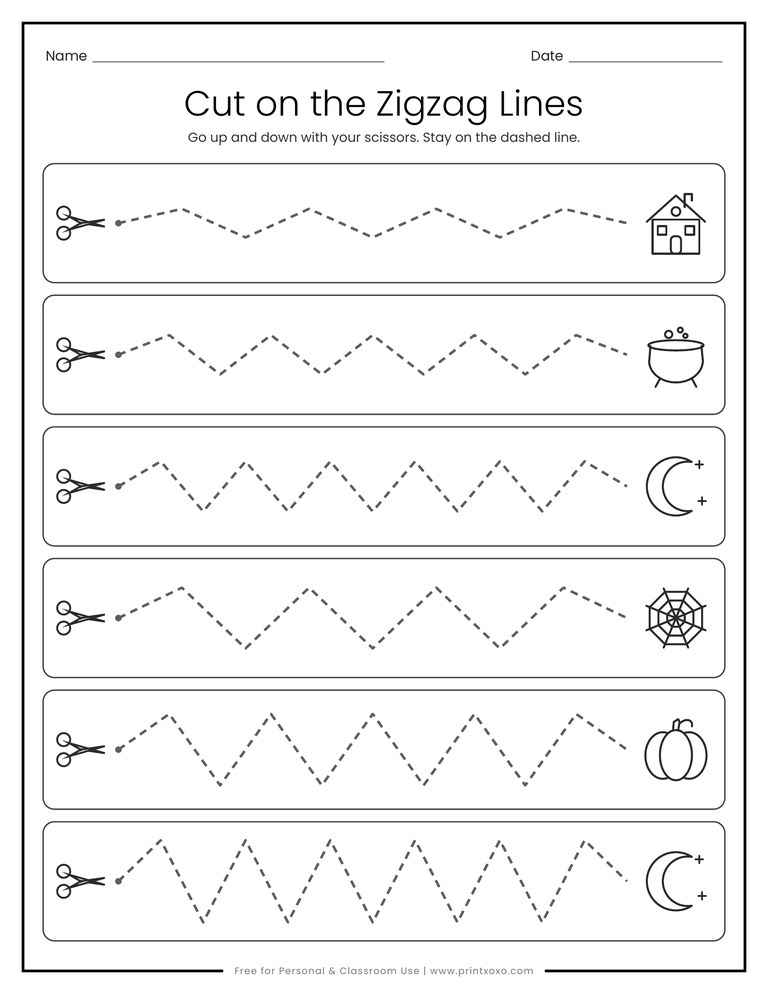
- Zigzag Lines: small points at the top, bigger ones at the bottom. Kids stop, turn and keep going.
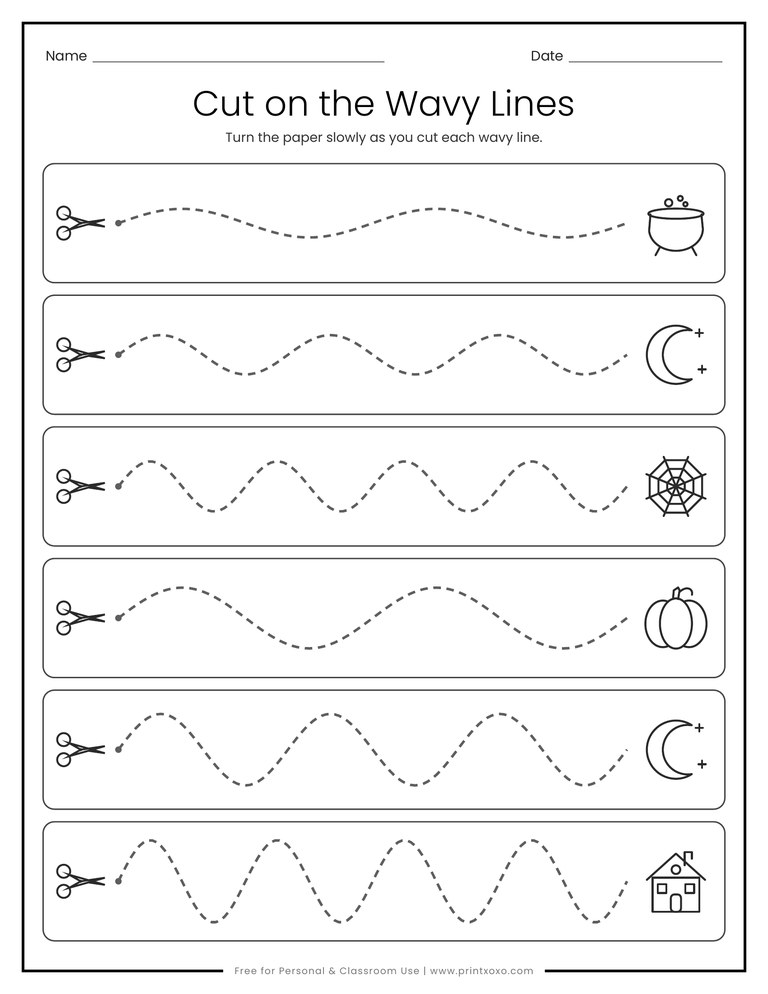
- Wavy Lines: soft curves that ask kids to turn the paper, not their wrist.
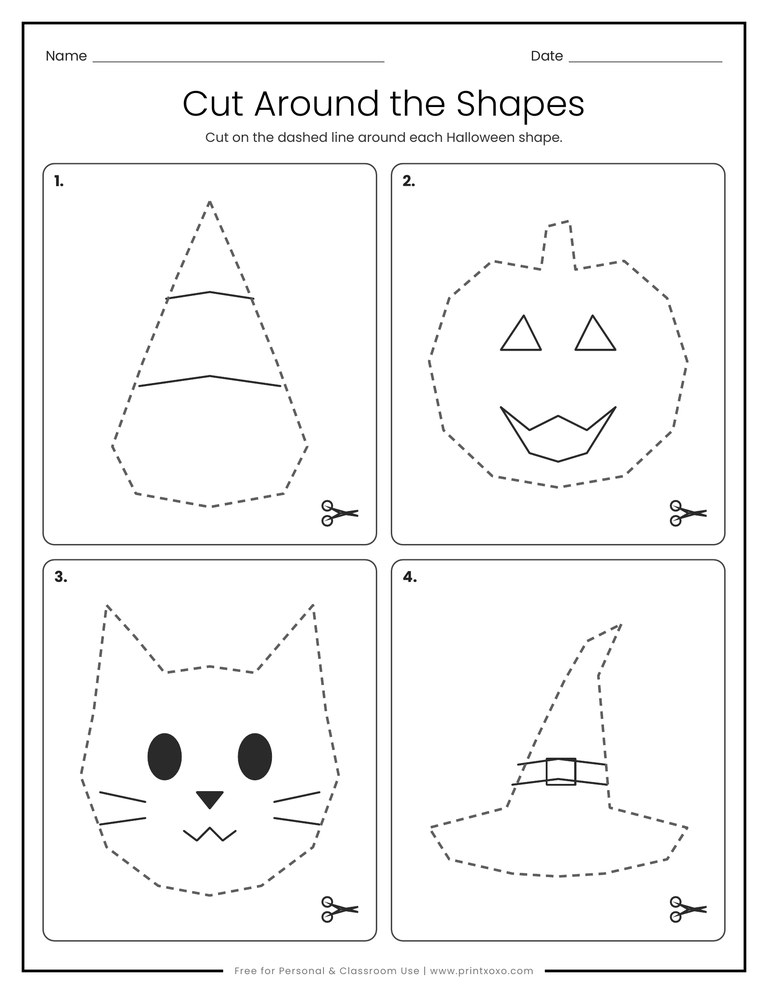
- Cut Around the Shapes: four big shapes with dashed outlines. The faces are already drawn in.
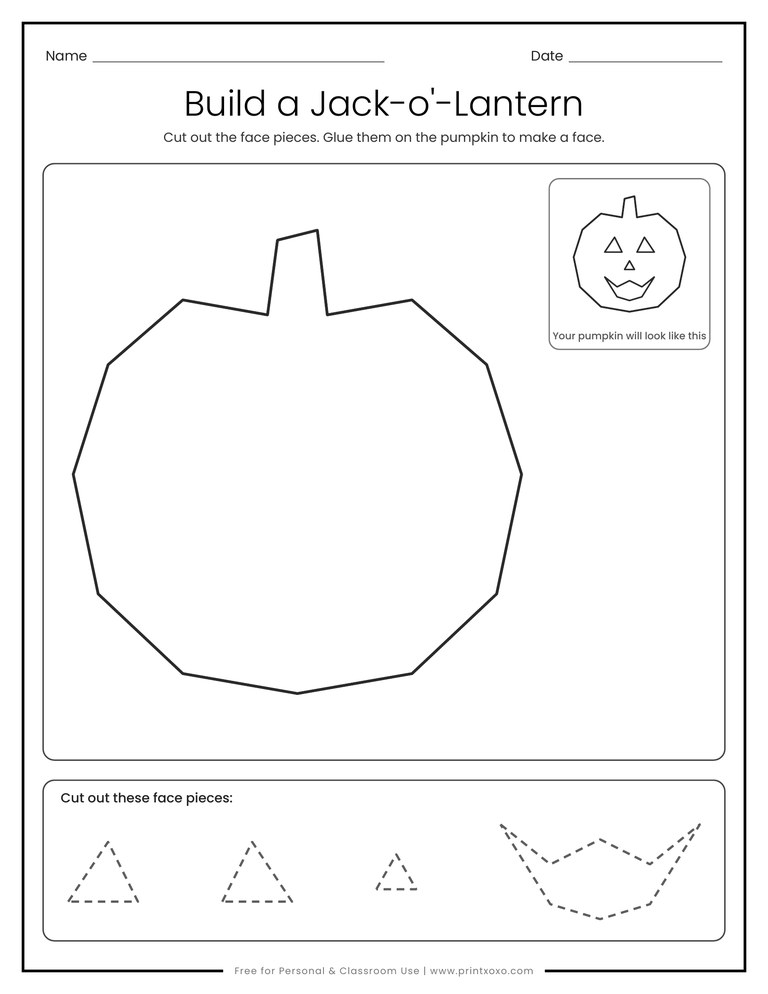
- Build a Jack-o’-Lantern: cut out two eyes, a nose and a mouth, then glue them on the big pumpkin.
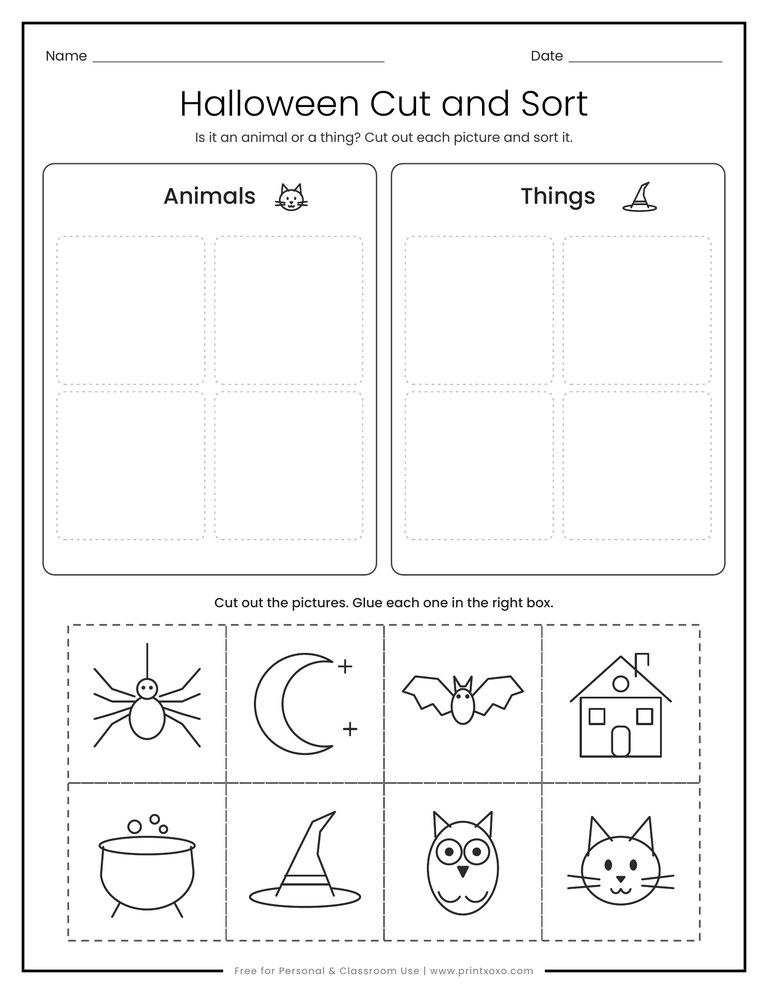
- Cut and Sort: eight pictures to cut out and glue under “Animals” or “Things.”
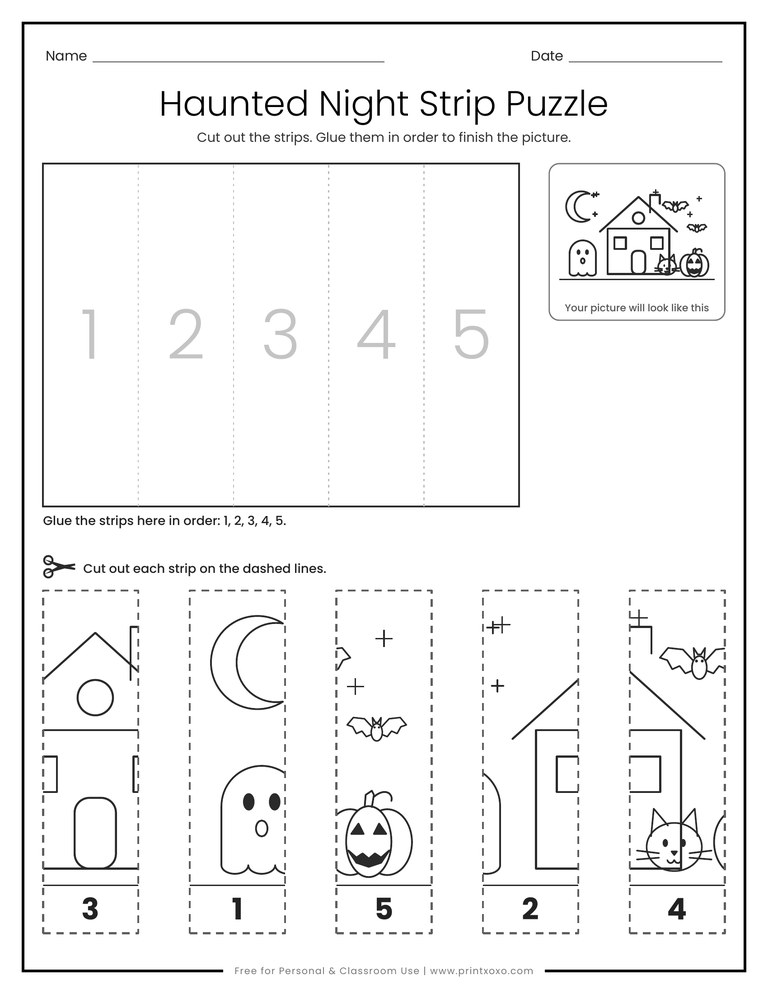
- Haunted Night Strip Puzzle: five numbered strips. Cut them apart, then glue them in order to rebuild the night scene.
What Cutting Does for Little Hands
Cutting builds the same small hand muscles kids use later to hold a pencil. Opening and closing the scissors works the thumb and fingers. Holding and turning the paper teaches the other hand to help. That two-handed teamwork is something many 4-year-olds are still figuring out.
It’s also a lesson in slowing down. A child who rushes a wavy line ends up far off the path, and they can see it right away. Most kids get noticeably steadier after a week of short practice, even if the first pages look a bit wild.
The last three pages sneak in some thinking, too. Sorting pictures into groups, matching face pieces to the right spots, and putting strips in number order all ask kids to plan before they glue.
Tips for Happy, Safe Cutting
- Print at 100% or “Actual size.” The face pieces are made to fit the pumpkin, and the puzzle strips fit the frame.
- Use small, blunt-tip kid scissors. Big scissors are harder to control, not easier.
- Teach “thumbs up”: the thumb goes in the top hole and stays pointing up while cutting.
- Remind kids to turn the paper, not the scissors, on the wavy page and around the shapes.
- Black and white printing works. Let kids color the pumpkin orange and the puzzle scene before they cut.
- Keep sessions short. One page at a time is plenty for most preschoolers. Save the scraps for a Halloween collage later.
Frequently Asked Questions
What age are these Halloween cutting practice worksheets for?
Kids around 3 can start with the straight lines, with an adult close by. The shape cutting and the three cut-and-glue projects fit ages 4 to 6 best.
Are these Halloween cutting practice worksheets free?
Yes, free for personal and classroom use. Please don’t sell them or upload the PDFs somewhere else. Share the link to this page instead.
US Letter or A4, which should I print?
US Letter in the US and Canada. A4 in most other countries. The pages are the same in both sizes.
My child can’t cut on the line yet. What should I do?
That’s normal at the start. Let them just snip the edge of the paper into fringe for a few days. Then try the straight-line page and praise staying close to the line, not perfect cutting. Holding the paper for them at first is fine too.